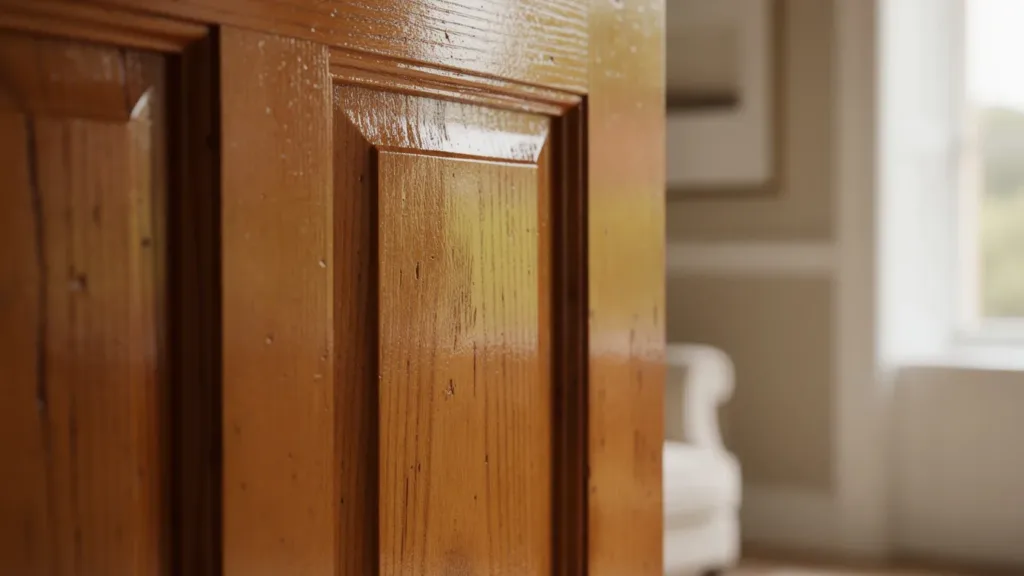
It’s January, the month of fresh starts, and what better way to breathe new life into your home than by tackling those worn-out wooden doors? You know, the ones that have seen better days but still carry the charm of the past? Let me tell you, transforming these beauties is not only rewarding but surprisingly simple. The one-step method I discovered has become my go-to for achieving that gorgeous wood shine without breaking a sweat. I promise, you’ll wonder why you didn’t do it sooner!
Highlights
- ✨ Simple “One-Step” Method: No sanding or priming required!
- 🌈 Designer Colours: Choose from over 100 chic shades.
- 🔧 Quick Restoration: Transform dull doors into stunning focal points in no time.
- 🪄 Durable Finish: Enjoy long-lasting shine and protection.
Did you know? The oldest known wooden door was found in a palace in Egypt and is over 4,000 years old!
Understanding the One-Step Method
Imagine this: you’re standing in front of your old wooden door, its surface scratched and faded. Instead of dreaming about a complete overhaul, you can revive its glory in just a single step. Trust me, this method is a game-changer. Simply use a specially formulated paint or stain that combines everything you need—colour, adhesion, and finish—into one. If you’re anything like me, the thought of endless sanding and priming makes your skin crawl. Thank goodness for innovation!
What caught my attention is that many of these products are designed to adhere to most surfaces and dry to a beautiful matte finish. I often find myself torn between wanting a bold new look and preserving my door’s character. With over 100 designer-curated colours, I can achieve anything from sleek modern to vintage-inspired finishes while spending only a fraction of the time. And if you’re truly in a creative mood, why not mix and match?
Prepping for Success
Before you dive in, preparation is key. To ensure a flawless application, start with a prep step. Clean Slate is my trusty ally here; it guarantees that the surface is free of dust and old oils that might interfere with adhesion. Once that’s done, you’ll find how easy it is to achieve a uniform layer.
- 🧼 Step 1: Clean the door thoroughly.
- 🌬️ Step 2: Let it dry completely.
- 🖌️ Step 3: Get ready to paint or stain.
It’s almost meditative—the process of carefully brushing on the one-step product, watching it transform before my eyes.
Understanding the Finish
What really sets this method apart is the finish. After your paint or stain dries, consider adding a wax layer if you’re aiming for added depth and protection. I often find that Light or Dark Wax enhances the wood grain beautifully and provides a resilient barrier against everyday wear and tear. It’s an extra step, but totally worth it!
The true beauty lies in how this technique allows you to revamp your décor without feeling overwhelmed. It’s satisfying – a little like a mini home makeover, and the best part? You’re left with a stunning door that sparkles. Who wouldn’t be delighted to have that as the first thing guests see upon entering?
Making the Most of Your DIY Door Makeover
Once you’ve successfully tackled one door, why stop there? It’s a good idea to think about consistency throughout your space. Choose a colour that will complement your interior design and flows nicely from room to room. I can assure you—having stylishly refurbished doors can completely elevate your home’s aesthetic.
- 🏠 Consider uniformity: Choose colours that harmonise with your walls.
- 🎨 Experiment with textures: Pair painted doors with rich woods and fabrics.
- 🚪 Highlight architectural details: Use contrasting shades to emphasise unique features.
These tips not only enhance your DIY venture but also ensure that every door you complete feels like a personal achievement.
Take Action!
Are you ready to embrace your inner DIYer? I urge you, grab that paint and let your creativity flow. The one-step method will save you time and unnecessary hassle while giving your wooden doors the shine they deserve. Plus, there’s something inherently satisfying about completing a project with your own hands.
Don’t forget, I’ll be sharing more tips and tricks for home décor soon, so do come back for more inspiration on how to elevate your living space effortlessly. Let’s make our homes not only beautiful but also a reflection of who we are!
In this fast-paced world, sometimes it’s the simplest changes that can give us a sense of accomplishment and joy. Remember, great things come in simple packages. Happy painting!